 |
| Rob putting in the insulation. |
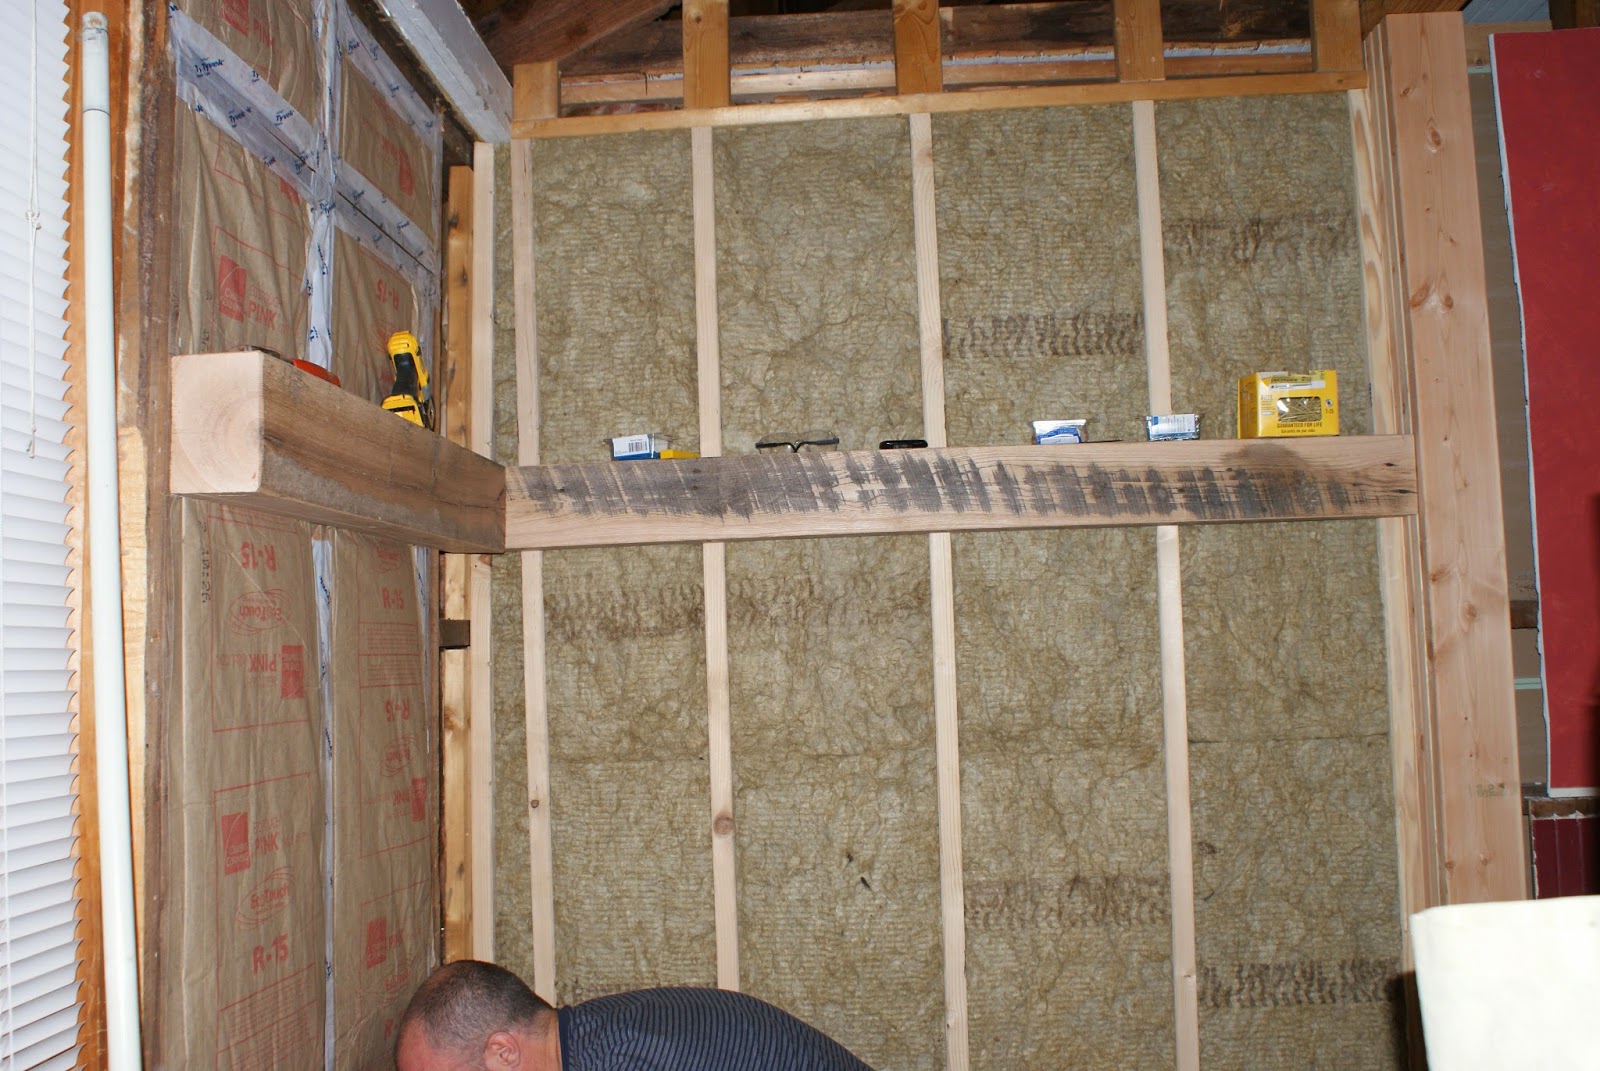 |
| In this pic you can see the rustic beams Rob reclaimed from one of the barns. |
The last few weeks I have been so busy - planting garlic, clearing out and prepping our raised beds for next year, getting my children deep into the homeschool year and sitting by the wood stove. Wait, what? Yep that is when I remembered I hadn't posted the final pics of the wood stove actually going into place. So here you have it.

 |
| Sheet rock going into place. |

 |
| Kolbe could not resist taking a pic up the flue pipe. |
 |
| The shiny flue from outside. |
The crew from Superior Hearth worked with us to have the stove put in the perfect spot on the hearth. Then they adjusted the stove to be sure it was level. They then added the flue and connected it to the stove. And there you have it. Warmth!

As you can see we still have much work to do. But as goes with homesteading cosmetics are usually the last thing to be completed. I will keep you updated on further upcoming projects . . . but for now we are going to enjoy the fire.
 |
| Pacific Energy Alderlea |
 |
| I just love the top stove part that can swivel open. It works perfect for making yogurt. |
 |
| Rob still working on the project. |
Any questions . . .
. . . be sure to
ask us in the comments.
 |
| So cozy and warm. |
so what part of the house is this in? Looks beautiful!
ReplyDeleteHi Peter! Thanks. The hearth is in the living room which for now is also our dining room. Our home is too small for an official dining area but with the size of our family we need a dining room table in it! Hoping to expand in the future but for now it works . . . . it makes us a closer family . . . seriously!
DeleteOh my! The expansion project is really coming along nicely. I love the new stove you installed, with its quaint appeal and the strong hearth. I'm sure the living room will look so gorgeous after everything is finished. Thank you so much for sharing that! All the best!
ReplyDeleteDarren Lanphere @ Mirr Ranch
Hello Darren,
DeleteThanks so much for reading our blog and thanks so much for the great comments and compliments. I'll be sure to keep our blog updated as often as possible with our many projects and home improvements. Happy Thanksgiving!